More Green For Less Green

Living more eco-friendly for less money

6.03.2013

5 Ideas for Using Spray Paint in Home Improvement


Let's get this out of the way first: spray paint itself isn't eco-friendly. There, I said it.  Now that we've agreed on  that, let's move on to the idea that spray paint does have green value in that it can impart new life to things that otherwise might just get dumped into a landfill. Here are five ways that we have used spray paint for home improvements:

1. Our old fireplace doors went from smoke-stained and outdated  to simple and lovely.


2. Our retro kitchen cabinet doors had layers of chipping paint and lacquer, loads of decorative trim, and possibly lead paint on them, meaning that sanding was out of the question. Textured spray paint was an easy way give them a new lease on life until we have a more defined plan for the kitchen.


3. When we bought our house, we had to refinish every single thing (as everything was covered in filth and roach droppings). To minimize cost and waste, we decided to wash and spray paint hinges and hardware rather than buying a whole-house's worth of new ones.
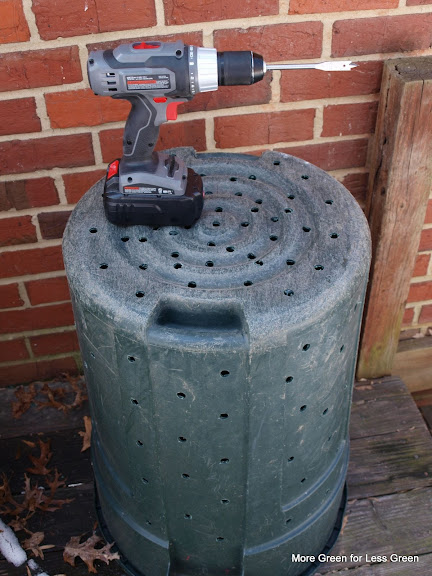
Leftover floral foam works well for holding screws.

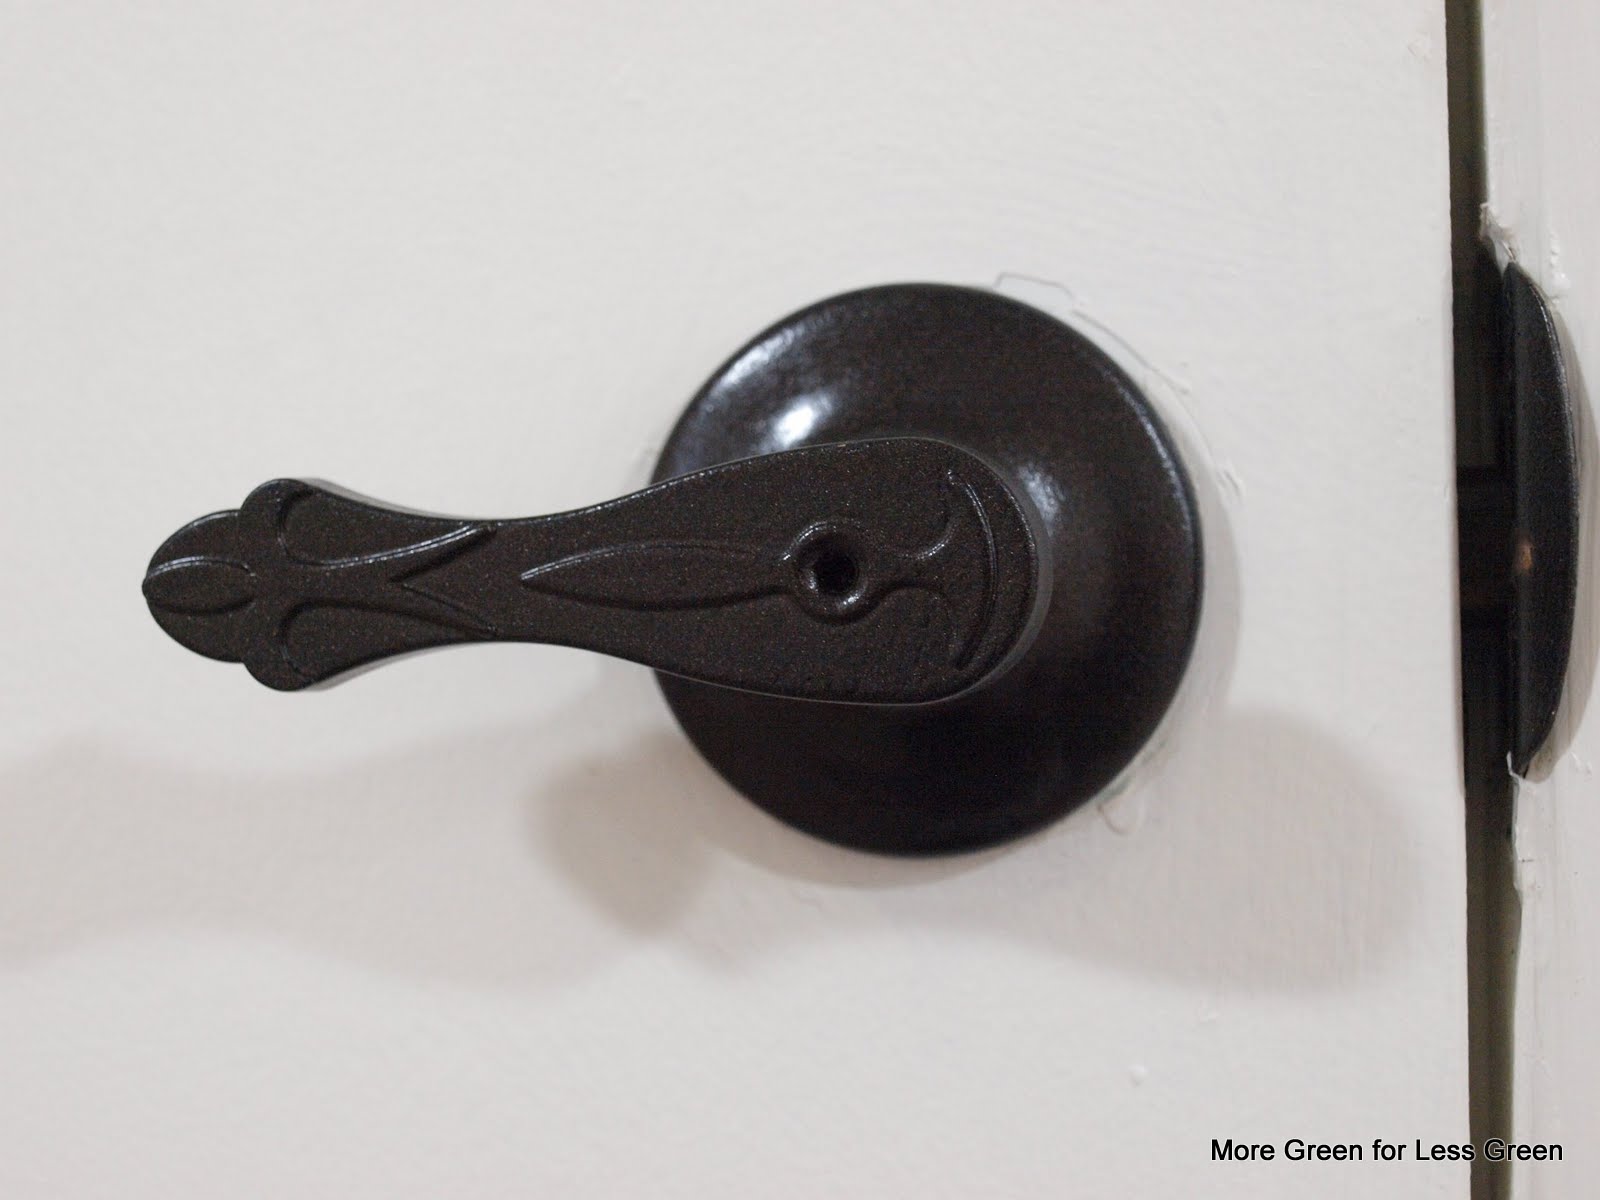
4. For the basement remodel, we freshened up old door handles purchased at ReStore so they would match our oil-rubbed bronze vibe. (We would have been wise to add a coat of lacquer.) (Painting helpers: a shipping pallet and the same trusty piece of floral foam, three years later.)


5. Going with flush-mount lights rather than recessed was one way we could save money on the basement remodel. Finding six matching, attractive, amply-bright lights for cheap was tough, though. Enter Craigslist. We found a lot of lights with a nice motif for a mere $35, but they were a terracotta orange-ish. Once again, spray paint came to the rescue.


There you have it: five ideas from our home. But, there are tons of other possibilities. What is something you saved with spray paint?


Labels: , , ,

4.30.2011

Greeting Card Mobile


I was inspired to make a greeting card mobile for baby V after seeing one on another blog. Rather than having the cards from my baby shower sit in a drawer gathering dust, or go into the recycle bin never to be seen again, the mobile allows us to appreciate the cards every day.
For my base, I cut off the top from an octagonal box that a flower vase came in. From there, I used copious amount of hot glue to affix the card cutouts to every surface of the box—inside and out.

The mobile is suspended with an arm that came with a commercial mobile that we happened to have one on hand but suspending it from a hook in the ceiling would’ve worked even better than the arm. Long hanging distance is the key to good movement. The sunshine-shaped parts spin well, but the others don’t have long enough strings. The mobile moves gently with drafts from an open window, fan, or vent. Sometimes I “wind it up” by twisting the ribbon that holds it to the arm.

It ended up taking several hours—much longer than I thought—but it turned out wonderfully.


Detail shots:


Labels: , ,

4.15.2010

DIY Preserved Wedding Bouquet -- Critique 4 Years Later

In honor of my fourth anniversary today, I thought I'd share how I preserved my wedding bouquet.

Supplies:
-Bouquet
-Thin rope or pipe cleaner to suspend bouquet
-Deep shadow box (mine is from A. C. Moore)
-Aerosol Hairspray
-Hot glue gun
-Hot glue sticks

What I did:

-The day after the wedding, I hung the flowers upside down in an unused closet using pipe cleaners.

-I left the flowers alone for 2-4 months until thoroughly dried out. Note that tightly closed blooms will take longest to dry. Warning: the flowers smelled awful for quite a while!

-Once dried, I sprayed them with Aquanet hairspray (I read on a website that this helps preserve them).

-I had to split the bouquet in two parts because they wouldn't all fit in the box without getting squished (this was a little traumatic as some little petals flaked off when I pulled them out of the bouquet).

-I used straight pins and hot-glue to tighten up the ribbon, making sure that the alterations would be hidden when placed in the box.

-Once thinned enough to fit under the glass, I hot-glued the 1/2 bouquet still in the ribbon into the box, concentrating the glue on the stems rather than the blooms.

-From the unused half of the bouquet, I cut the blooms off of stems and hot-glued them into the secured half to really fill out the side the viewer will see. (I was able to fit in every single flower still in good condition!)


Verdict: Some bits of flowers have flaked off and are on the floor of the box, the green leaves and stems browned, the white flowers have yellowed, the ribbon has faded some. But, overall, I would consider this a success!

Bonus Picture... Origami version of my wedding bouquet that hubby made for me on our first anniversary (traditional gift is paper)

Labels:

3.16.2010

Homemade Compost Bin

In the past, I have kept a simple compost pile on the ground, with good results. When we lived in the condo, I composted on the grounds at work (read about it here and here). Decomposition went very well, but the compost never actually got used. Last spring, my coworker on the buildings team accidentally squished all of the compost back into the forest floor in a mishap with a rented tractor. (I think he was either trying to turn the pile or scoop up the compost to use it.)

When we bought the house, I started a ground pile at home and ditched the work one. That reminds me, that partial second year of compost is still sitting on work grounds and decomposing. I guess I should remind my coworker that it is there since it is time for spring planting to spruce up the grounds. It would be great to see it put to use! Anyway, back to the house pile...being that I started the pile in in December and then we had a snowy winter, the pile didn't do much.

When we moved into the house, I noticed that the previous owners left an old, beat-up, plastic trashcan with no lid. I started eyeing it as a potential composter. After all, if it could be free—or at least dirt cheap—I’d like to try bin composting. I totally believe in the simplicity and relative cleanliness of a ground pile, but I like experiments, and I like sharing them with you.

It took me some time to figure out exactly what to do with the trash can and to find the time to do it, but I finally did. Here you go...

With a ½ inch boring bit, I drilled holes around the sides and bottom of the trash can. As you may notice, I did not drill holes up to the very top of can. I did this for several reasons: to remind me to not fill it that high for weight reasons (I need to be able to flip it); to remind me to get multiple bins going for use at different times and not obsess over getting this one filled to the brim; and finally, some trashcan composters are used upside down with the top cut off, so instead of flipping it, you just lift it up. I wanted to leave as much structural integrity in that part of the can as possible in case I switch to that method.


Because the trash can did not have a lid, and we were not able to buy just a lid, we needed to make one. We recently got some building supplies from a Freecycler, so hubby cut some of that wood to be the lid. I then drilled holes in the wood to allow rain in. We bought a rubber cord with hooks on the end (from Home Depot) to hold the lid on securely.


I shoveled my ground pile into the composter, and I will turn it with a cultivator/claw. We bought both tools on Craigslist for $10 each.

So far, I’ve noticed that flying bugs like the composter. This was not a problem with the ground pile because no food was ever directly exposed to the air (it gets covered with browns). In the container, food may be pressed against a hole and thus draw attention. So far, that is the only drawback. In terms of adding food, it is much easier because I don’t have to dig it in and then obsessively cover it with browns. So, we'll see how it goes!

Labels: ,

3.14.2010

The Joy of Repurposing: 2 Minute $0 Decoration

These gold, brown, and clear baubles came in a flower arrangement that hubby’s office sent us when we got the house. I just loved them and thought that they would go with our retro gold living room decorations, so I set them aside figuring that someday I could put them to good use. Enter this little candle holder that I received as a Christmas gift that I liked, but with just a candle in it seemed kind of plain. After having both things around for months, suddenly inspiration hit. 2 minutes of futzing and voila!

Labels: , ,

6.21.2008

Reusable Produce Bag- Cost $0


I finished one produce bag tonight (this one is 12x16 inches) and have two others pinned to finish later. The best thing is that I spent no money making them! The fabric was leftover from a 1970s dress that I bought used and shortened; the drawstring is made of hand-me-down ribbon; and I inherited the thread and sewing machine from family members.

The fabric is sheer enough to see what is inside, so I won't have to open it for checkout. This bag weighs 0.65 oz. and a standard plastic produce bag weighs 0.05 oz. So, mine is heavier, but well worth it, in my opinion!

Labels: , ,